Hydrangea Cake Tutorial- i am baker
Just in case anyone wanted to make their own Hydrangea Cake, here a a couple quick tips to make it easier for you!
*Some inspiration:*

First, I baked my cake. I just did a regular white cake with the lemon curd filling and lemon frosting. (Seriously delish.. and perfect for spring or Mothers Day!)
I used 8in pans then carved around the edges to make my 'bouquet' shape.
You can also bake cake in round pyrex bowl or basketball cake pan or something round.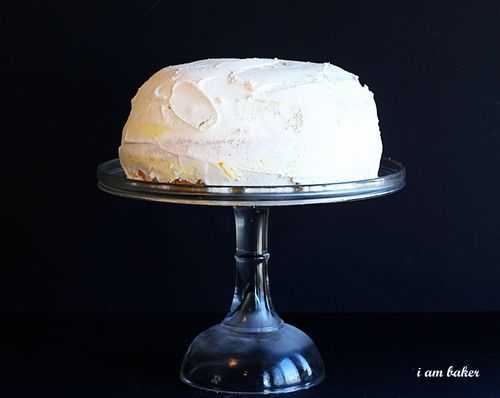

I then covered the cake in buttercream frosting and chilled it in the fridge.
For the flowers, I used the rest of my buttercream,
making sure the consistency was on the thicker side. Pick the colors
that you prefer, and create three of four variations for your petals.
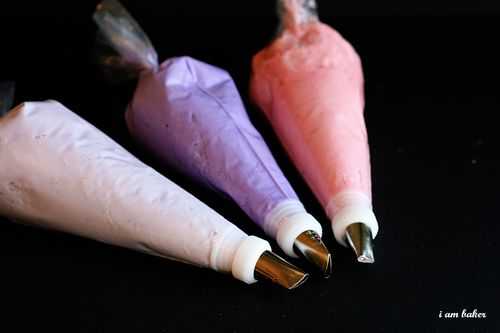

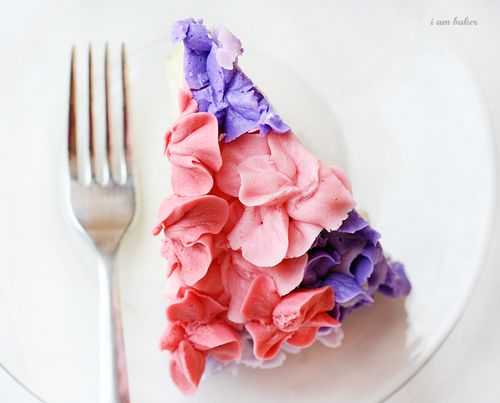
Using a #104 tip with the small edge out, I just piped out four petals to each flower.
I think the actual hydrangea petals are a bit more flat, so if you can master the tip you can create a more realistic looking petal!
(This was my first time trying this flower… I am hoping to improve
more for next time… I also want to make this cake in white and pale
pink… cant you just see it???)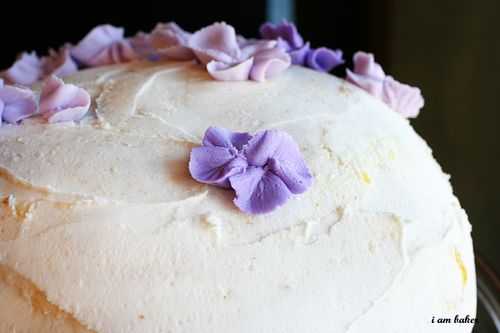

I started with one color in one section then made a bunch of flowers overlapping each other again and again.
Then went back in with another color and started adding more flowers.
Anytime I saw a flower that I didnt think was good enough I just added a
new one on top of it!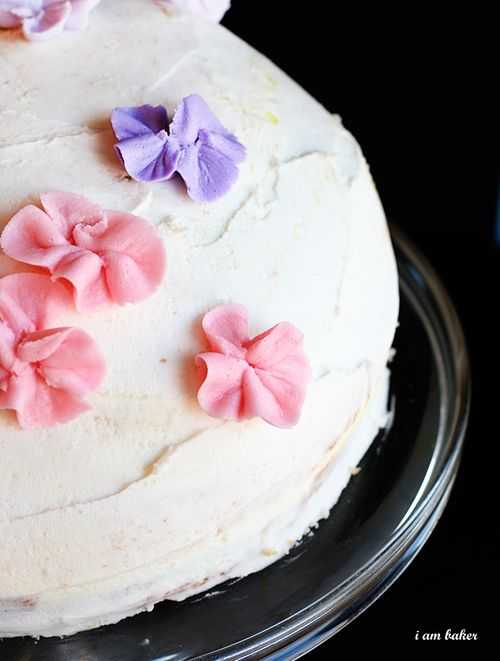

This is a really forgiving and easy technique… you really cant go wrong!
And when you are all done, you get this…
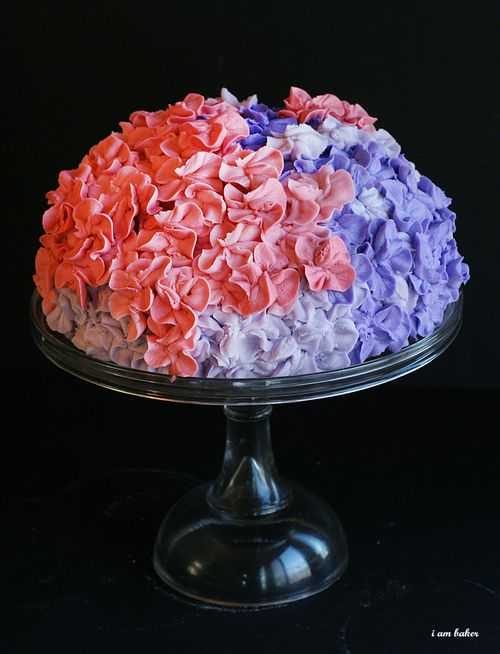
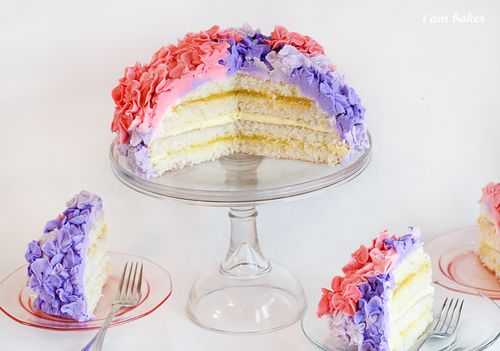
This is a white cake (recipe here) with lemon curd filling and lemon
frosting covered in buttercream crumb coat and buttercream hydrangea's.
Basic White Cake (adapted from Joy of Baking-great site!)
2 large eggs separated
1 3/4 cups sifted cake flour
2 tsps baking powder
1/4 tsp salt
1/2 cup room temperature butter
1 cup sugar
1 tsp vanilla extract
1/2 tsp almond extract*
1/2 cup milk
1/8 tsp cream of tartar
*I love the addition of almond extract, but you can certainly
leave this out for a more pure vanilla flavor. The original recipe does
not call for it.
Directions:
Separate the eggs, placing the whites into one container and the yolks into another. Let come to room temperature.
Preheat oven to 350 degrees. Butter and flour two 8in (I used 9in)
pans. Normally I use PAM, but this recipe really calls for the butter
and flour method. Just trust me on this one.
Put sifted flour, baking powder, and salt into a bowl and set aside.
Using an electric mixer ( I love that this recipe calls for an
electric mixer as I do not even own a KitchenAid Mixer), beat the butter
until soft and creamy, about 1 minute. Add 3/4 cup of sugar (reserving
the rest) and beat for an additional 2 minutes. Now add egg yolks, one
at a time, until completely incorporated. Add vanilla and almond
extract until combined, about 30 seconds.
Now you are going to add your flour mixture and milk. Starting with
the flour, add 1/3 of the mixture and mix until incorporated. Now add
1/2 milk mixture, mix until combined. Add half the remaining flour,
combine.
Now add the rest of your milk and combine. Add remaining 1/3
of your flour mixture, and go ahead and mix until combined. This whole
process should take less then 2 minutes, as you do not want to over beat
the batter.
In a separate clean bowl with clean whisk attachment, whip eggs
whites until foamy then add the cream of tartar. (I did this on medium
speed) Beat until soft peaks occur, and then gradually add in
your remaining sugar.
You will want stiff peaks, which took me about 3
minutes. Now, take your rubber spatula and fold your eggs whites into
your cake batter. Make sure they are fully incorporated, but do not
over stir the batter, as you do not want to eggs to deflate.
Put batter into prepared pans and bake for 20-25 minutes.
Cakes are done when an inserted tooth pick comes out clean or with
very few crumbs. At this point I place the cakes directly into the
freezer and leave them there for at least an hour. This locks in
moisture and also makes it easier to frost.
Lemon Frosting ( both recipes adapted from allrecipes.com)
2 cups confectioner's sugar
1/4 cup butter, softened
1 tablespoon fresh lemon juice
1 tablespoon milk
In large bowl beat confectioner's sugar, 1/4 cup butter, and lemon juice until smooth.
Add milk as needed, combine until ingredients are fully incorporated and light and fluffy.
Lemon Curd Filling
1/2 cup fresh lemon juice
1 tablespoon cornstarch
6 tablespoons butter
3/4 cup white sugar
4 egg yolks, beaten
In medium saucepan, mix together lemon juice and cornstarch until smooth.
Add butter and sugar and bring mixture to boil over medium heat.
Stir constantly for one minute. In small bowl use a whisk to beat egg
yolks until smooth. Add in a small amount of the hot lemon mixture to
the egg yolks. (this is tempering the eggs) Now pour the egg mixture
back into the sauce pan, whisking rapidly until fully combined.
Reduce heat to low and stir constantly until reach desired thickness.
Don't let it come to a boil again! (takes about five minutes)
Refrigerate for at least two hours.
Make sure its cool before adding to cake. Its a good idea to make this ahead of time so your cake assembly can be easier!
I made my favorite buttercream frosting for the flowers, and I used the entire amount! So even though the recipe is for a large quantity, I used it all.
I just separated it into three bowls then added pink, light purple, and dark purple to each bowl respectively.
This cake is truly delicious. Moist. Full of different flavors and taste bud tingling sensations.
Can you just imagine it at a bridal shower or even as miniature centerpieces at a wedding???
**this post is a combination of posts from i am baker
No comments:
Post a Comment